
How to Build a Raised Bed Vegetable Patch in a Small UK Garden
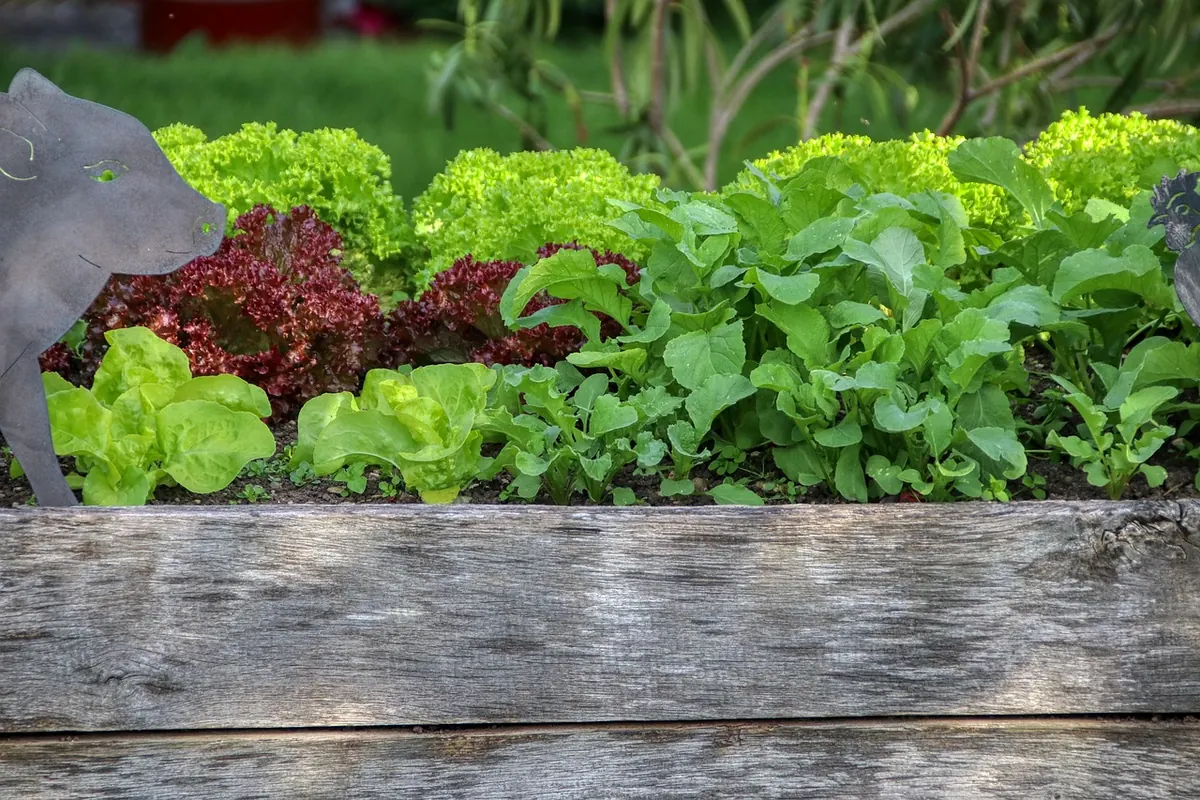
A raised bed doesn't need a big garden. A strip of lawn, a corner of paving or the sunny end of a gravel path will do. Build a simple timber frame, fill it with decent soil, and you have a vegetable patch that is warmer, better drained and far easier to manage than the ground you were fighting with before. It's one of the most reliable ways to grow food on a small UK plot.
Pick the spot before you pick the timber
Most vegetables want sun. Six hours of direct light in summer is a sensible target; anything much less and you'll be growing leaves rather than tomatoes, courgettes or climbing beans. Watch your garden at midday before you commit. The north side of a fence, the shadow of a shed and the strip under a mature hedge will all leave you disappointed.
Access matters just as much as light. You should be able to reach the middle of the bed without standing on it, which caps the width at roughly 1.2m if you can only get to one side, or 2.4m if you can walk right around it. Leave a path of at least 45cm — 60cm if you want to wheel a barrow or kneel comfortably. Put the bed within reach of a hose or near a water butt, too. Hauling cans across the garden every evening in July is the quickest way to fall out of love with growing vegetables.
Try to avoid the lowest point of the garden, where water sits after heavy rain. If you're planning to drive posts into the ground and you're not sure what runs beneath it, check before you dig.
Choose a size and a material that suits your plot
A square bed of about 1.2m by 1.2m is a good starting point for a small garden; a 2.4m by 1.2m rectangle gives you more room for crops that need spacing, such as brassicas. Height is the other decision. A bed 15–25cm deep is enough for salad, herbs, most roots and beans if the soil beneath is reasonable. Go to 30cm or more if you're on heavy clay, want to grow long carrots and parsnips, or would rather garden from a stool than bend down. Deeper beds cost more to fill, so there's a trade-off.
Timber, brick or something simpler
Untreated boards in larch or oak last well and need no treatment, but they cost more. Pressure-treated timber is widely used for beds and lasts for years; if you'd rather be cautious, line the inside face with a sheet of polythene. Avoid reclaimed timber with old tar or oil on it. Bricks, blocks and stone give you a permanent edge, though they're harder to move if you change your mind.
The simplest option of all is a no-dig bed: overlapping sheets of cardboard covered with 20–25cm of compost, with no frame at all. It works beautifully for a season or two, though the edges do creep outwards over time.
Building the frame in an afternoon
You need boards, four corner posts or internal corner blocks, and screws long enough to bite through both. Pre-drill near the ends of boards to stop them splitting.
- Mark out the footprint with string and pegs, then check it's square by measuring both diagonals — they should be identical.
- Cut the boards to length. For a bed over 2m long, add a mid-point brace so the sides don't bow outwards under the weight of wet soil.
- Screw the frame together through corner posts or blocks, using two screws per joint.
- Check it's level with a spirit level and adjust by digging out or packing soil under the low corner. A bed that leans will drain to one side and dry out unevenly.
- Mow the grass underneath, then lay overlapping cardboard across the base to smother weeds.
- Leave the bottom open. A closed base turns your bed into a giant planter: worms can't get in, and drainage suffers.
Filling it properly
This is where a raised bed succeeds or fails. A rough starting mix is about 60% topsoil, 30% compost or well-rotted manure, and 10% grit or coarse sand if your soil is heavy. Buy in bulk if you can; bagged compost alone is expensive for a large bed and performs poorly on its own. Pure multi-purpose compost shrinks, dries out quickly and collapses into a sludgy layer within a season.
Fill in layers, watering as you go, and firm gently with your hands rather than stamping it down. Leave 2–3cm of clearance below the rim so you can water without it running straight off. Expect the level to drop as the material settles, and top it up each autumn with compost and a little general-purpose fertiliser.
What to grow in a small bed
Concentrate on crops that earn their space. Salad leaves, radishes, spring onions, chard, beetroot, dwarf French beans, herbs and cherry tomatoes all crop generously in a compact bed. Kale and purple sprouting broccoli take longer but keep producing. Put anything tall — climbing beans, cordon tomatoes, sweetcorn — on the north side so it doesn't shade the rest. Sow little and often rather than one big row, and replant gaps as soon as something is harvested.
Looking after it through the season
Raised beds dry out faster than open ground because they're exposed on all sides, so water thoroughly at the roots rather than giving a light sprinkle. Early morning or evening is best, and a mulch of compost over the surface will hold moisture for far longer. Feed hungry crops such as tomatoes and courgettes once they start flowering.
Check for slugs after rain and around new seedlings, and net brassicas against pigeons if they're a problem locally. Weeding is quick in a raised bed — the soil is loose and the weeds come out easily with a hand fork. At the end of the season, spread a layer of compost over the surface and let the worms work it in over winter.
Getting started this weekend
Start with one bed rather than four. Mark out a 1.2m square in the sunniest accessible spot, build the frame, and fill it with the best mix you can afford. Plant salad leaves and radishes now for a quick result, and add a couple of tomato plants once the risk of frost has passed. Once you've grown a decent crop in it, you'll know exactly what you want from a second bed — and you'll have somewhere to put it.
Photo: planet_fox / Pixabay